# Getting started
This guide aims to help you create a local cluster setup for a Kubernetes based project with the help of the Unikube CLI.
Our mission at Unikube is to enable teams and individuals to create stable, scalable and secure cloud applications with ease. If you struggle with this guide at any step, please do not hesitate to contact us.
Enough introductory talk, let’s get started!
# Prerequisites
You need:
Helm charts for your application. If you don’t have any, feel free to get started with our buzzword counter application. (opens new window) To learn more about helm visit https://helm.sh/ (opens new window).
A Unikube (opens new window) account.
A docker image that you’d like to swap into the cluster. Makes the most sense when it’s an image (maybe a newer version) of one of your services from your helm charts.
# Online Project Creation
Since Unikube was built with team collaboration in mind, we created a neat web service that allows you to manage access and updates of your Kubernetes resources with ease.
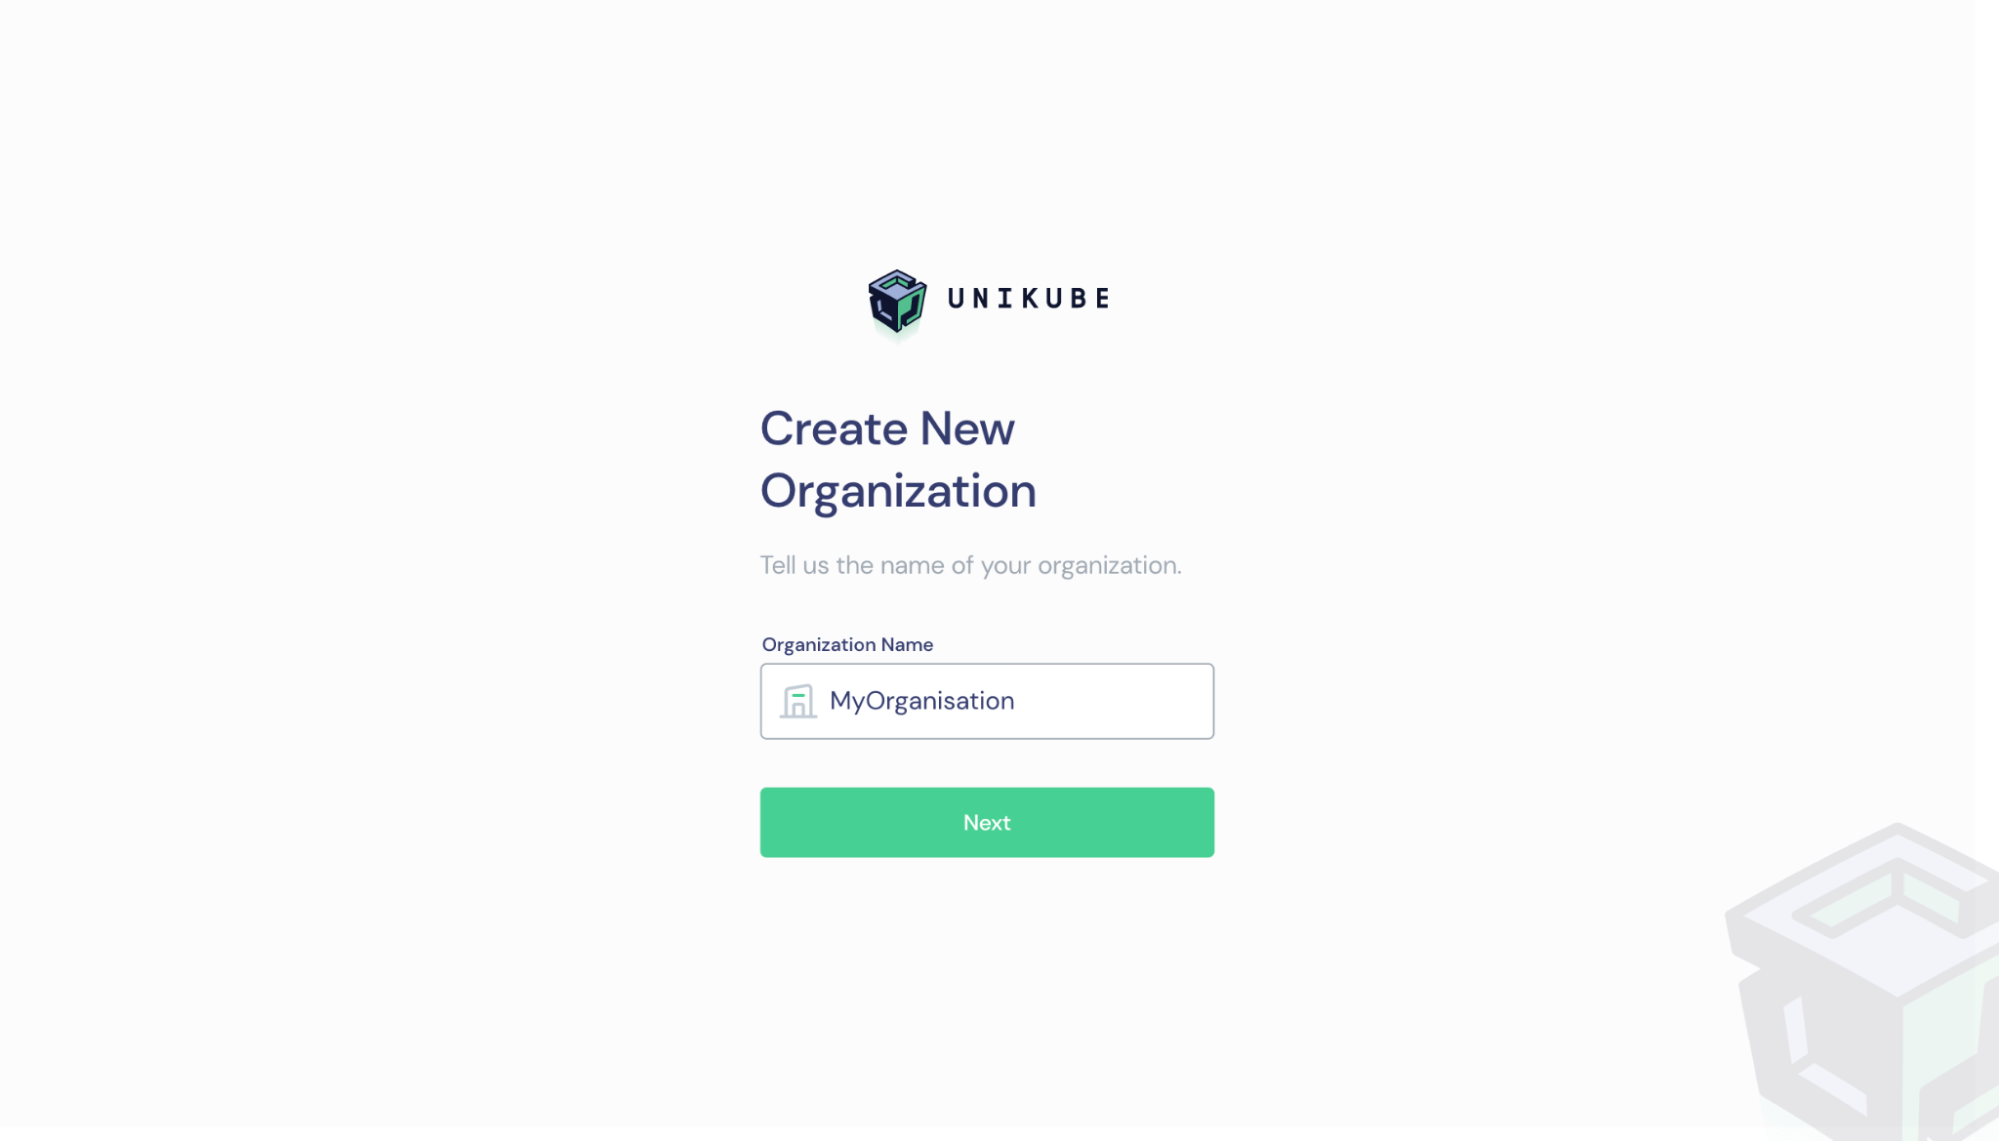
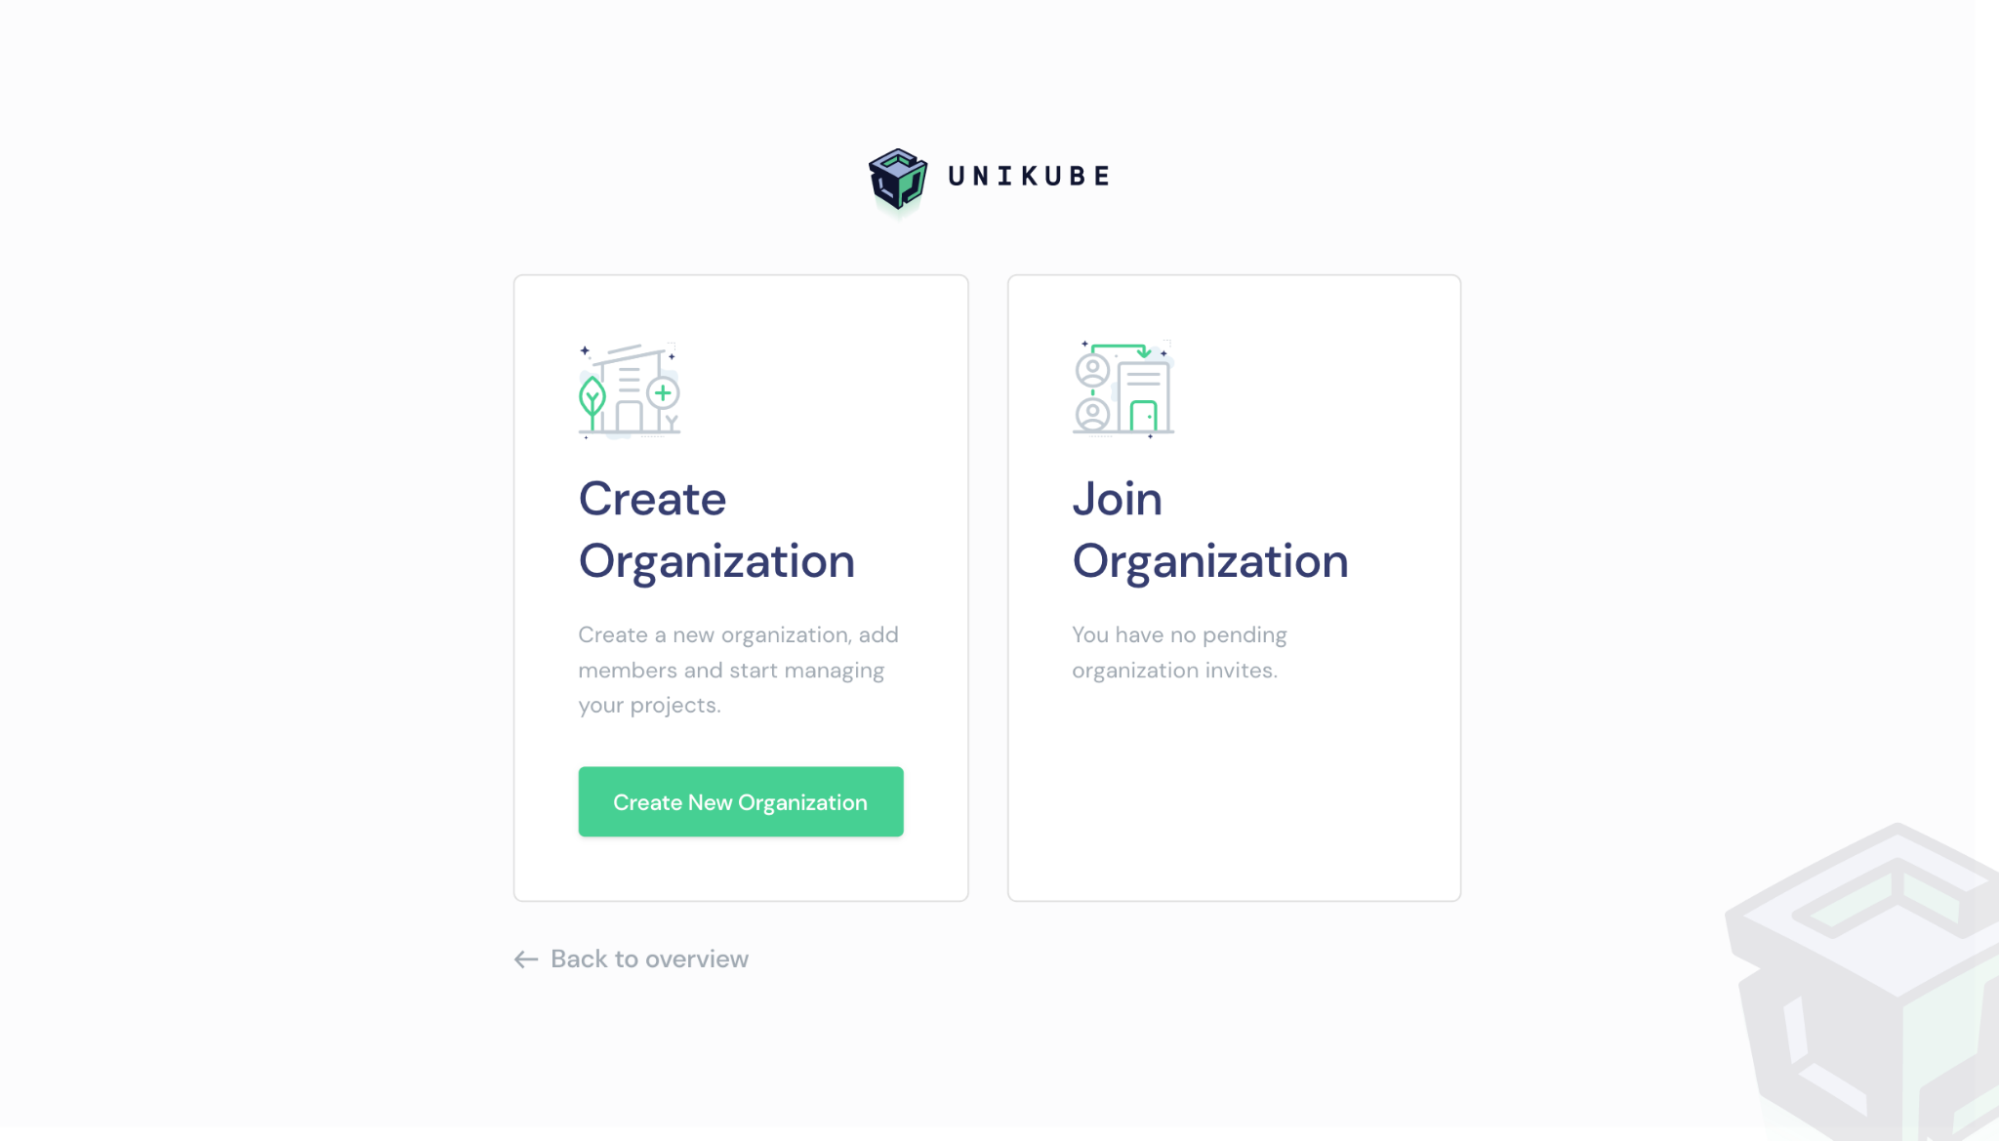
After you login into app.unikube.io (opens new window), you’re asked to join or create a new organization. Feel free to choose any name and invite your colleagues to join.
After creating a new organization you’ll be redirected to the project overview page. Since you probably haven’t created a project yet, it will look something like this:
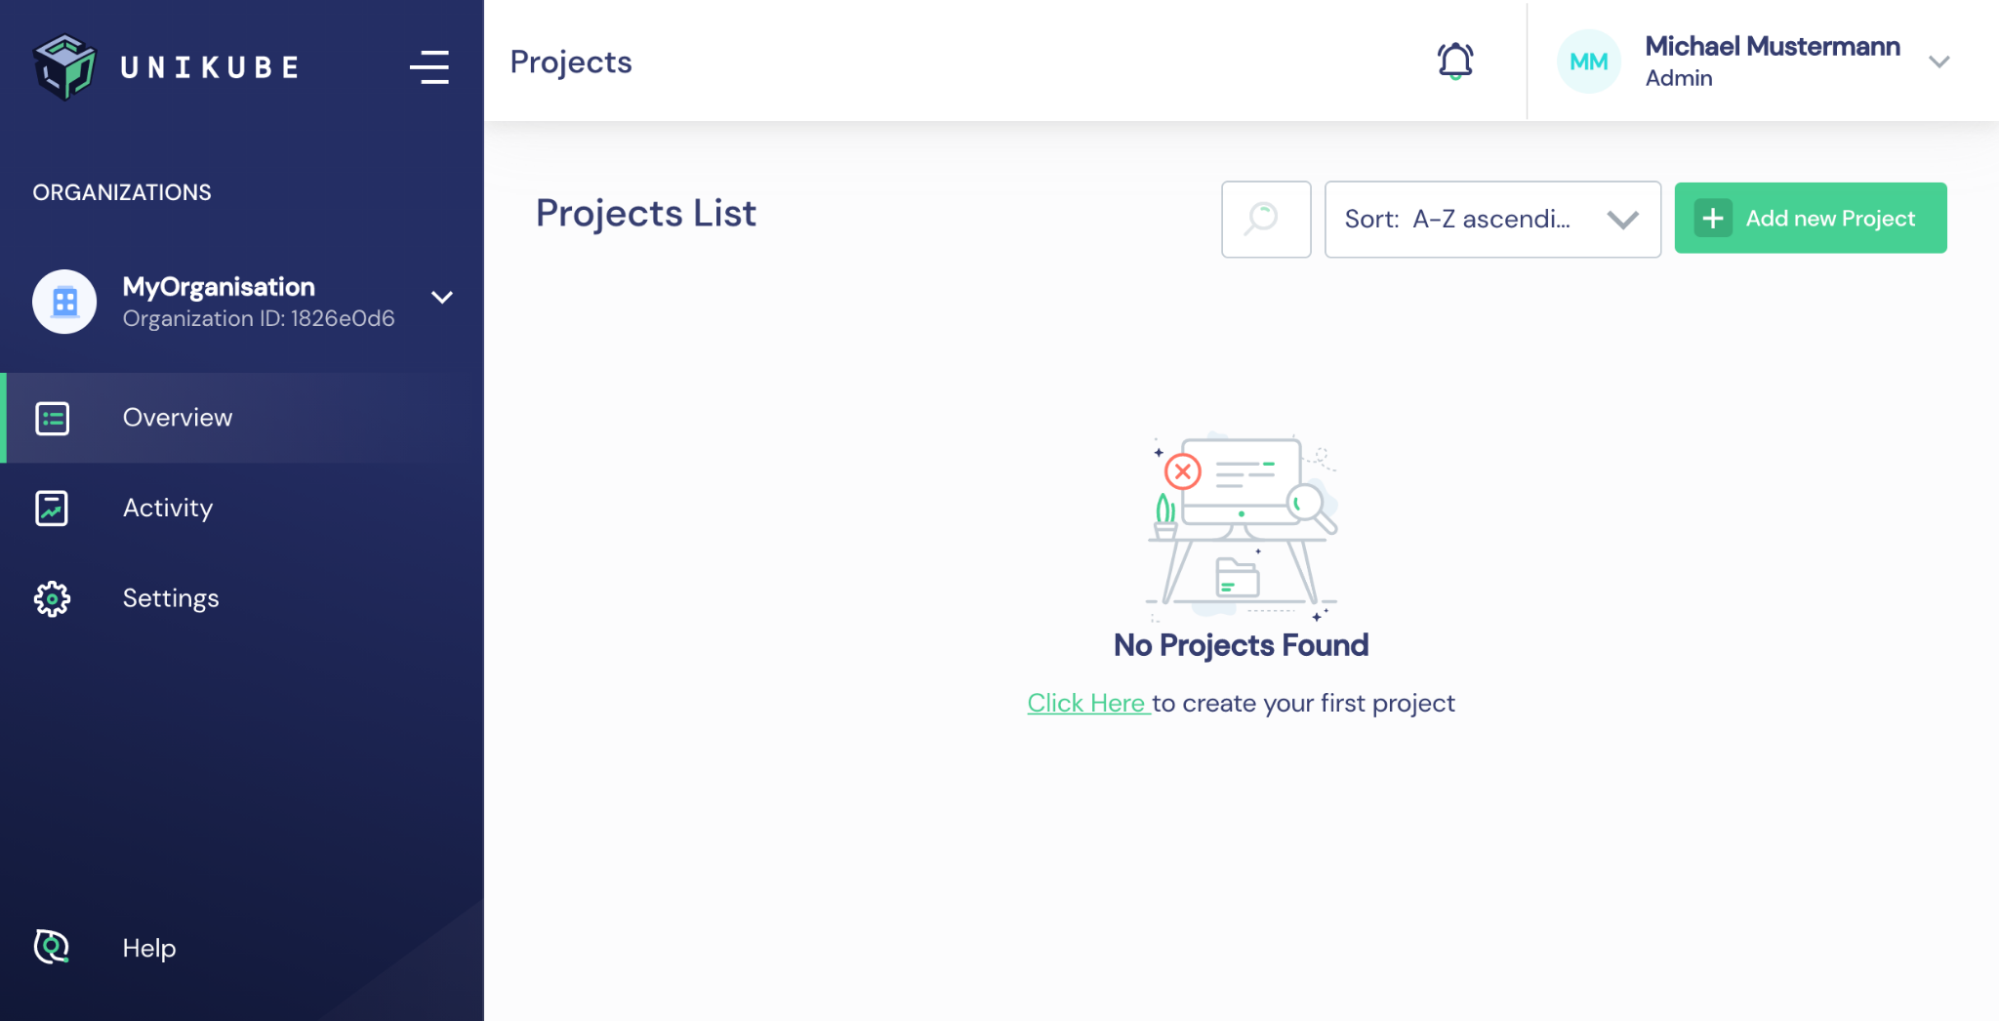
Alright! Let’s hit the “Add new Project” button on the top right corner. You’ll be presented with a form to create a new project. Enter a title, the http(s) path to your helm charts repository, the branch which should be cloned as well as the access credentials if needed. Finish with clicking “Next”! You’ll be asked to add team members from your organization - feel free to skip this step.
TIP
You could use our example helm charts for your first project: Buzzword Charts (opens new window).
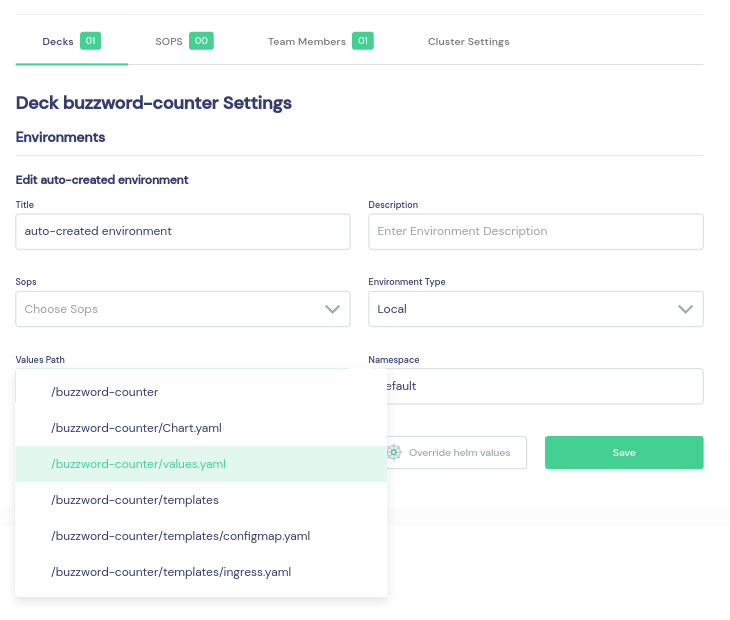
If you're working with helm charts you need to define the values with which the charts are rendered. When opening the project edit the deck, you would like to install later.
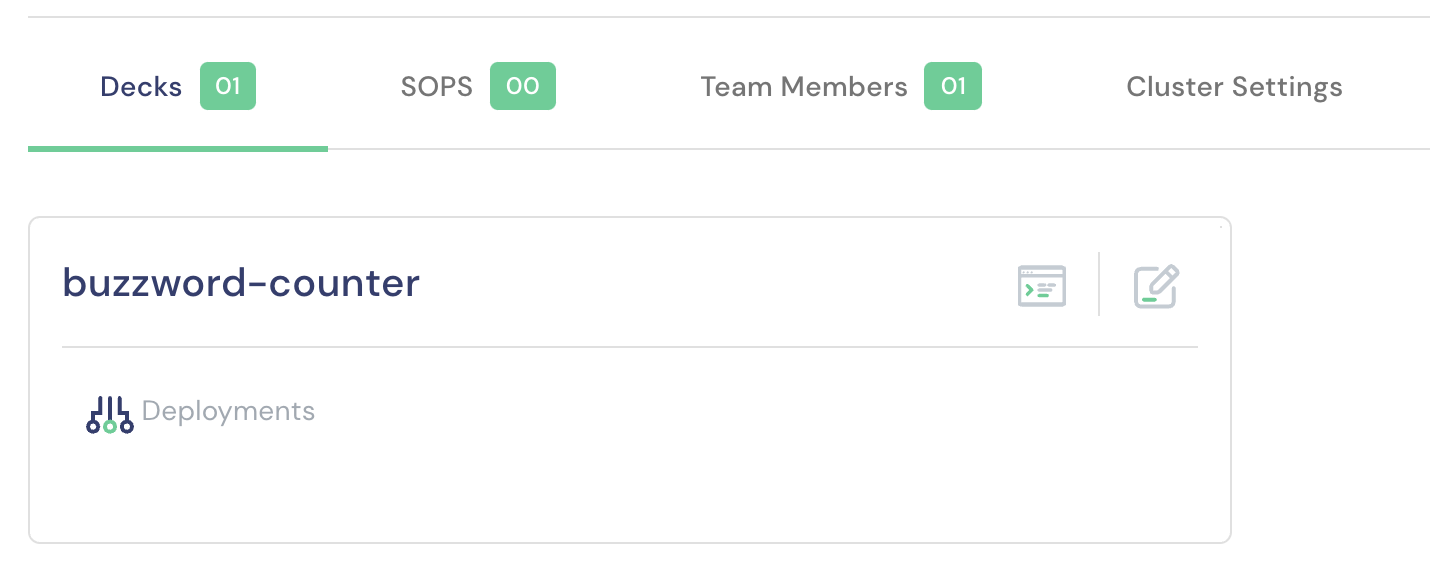
In the deck's environment define the values directory or file which should be used to render the helm charts.
TIP
A deck is the smallest installable unit in on Unikube.
That’s it for the online setup! Let’s get this thing running on your machine!
# Local machine setup
The Unikube CLI is based on Python and uses pip for the installation. Thus, please make sure that pip is installed. If you need help - have a look at the official pip installation guide (opens new window).
The following command makes the Unikube CLI available on your machine:
sudo pip install unikube
Unikube needs some other packages to do it’s magic. To verify if all the packages are available, run:
unikube system verify
If all checks are completed successfully skip the next step.
Otherwise, run:
unikube system install
...and verify again:
unikube system verify
Everything should be in place to run a Kubernetes on your machine. Time to login!
unikube login
Feel free to close the login tab after a successful login. Let’s list the available projects:
unikube project list
At this point, you should see the project created in the "Online Project Creation" section. Neat! Let's spin it up:
unikube project up
After a short time, you’ve got a running and provisioned Kubernetes cluster.
Let's install the deck containing the application:
unikube deck install
TIP
Run following command inspect the current state of your cluster
watch unikube app list --deck buzzword-counter
After some time you've got your cluster setup with your application. That was simple, wasn’t it?
As good old Steve Jobs said - we’ve got one more thing (and it is pretty amazing!):
let’s switch a running docker container from your machine into the cluster.
First, we create a unikube.yaml file, which provides information about the image and how it should be integrated into the cluster.
version: "1"

apps:
  buzzword-counter:
    deployment: buzzword-counter-web
    build:
      context: .
      dockerfile: Dockerfile
      options:
        - compress
    env:
      - DJANGO_DEBUG: "True"
    command: python manage.py collectstatic --noinput --ignore src; python manage.py runserver 0.0.0.0:{port}
    volumes:
      - .:/code
This example file is taken from our buzzword counter application. (opens new window) It describes the app to be switched into the local cluster. If you’ve worked with docker-compose before it should look pretty familiar.
buildprovides the build arguments for the docker image for the container to be built.envallows you to overwrite environment variables within the running container.commandis the command to be executed within the container.volumeallows you to add a volume mapping from your local disk to the container running in the cluster. This enables pretty cool things like hot code reloading.
You can find the helm charts for the buzzword counter here (opens new window).
Now we’re set to execute the switch command:
unikube app switch
Unikube switches the images and shows you the output of your command.
Done. Amazing!!!